
These are a few mini albums I've worked on lately. One of the best things about mini albums is the versatility of album styles and medians. Here, I've got mini albums made of paper lunch bags, acrylic, a keepsake box, and chipboard.
Mini albums get those creative juices flowing because you can get quite a bit done in a short amount of time, and the size limit may help you focus. Grab a collection full of extra fun coordinating stuff like tags, brads, ribbon, buttons, etc. and you're ready - no need to spend a lot of time looking through your stuff to find embellishments, which can be distracting sometimes (especially when you're like me, and you have a problem - with buying scrapbook stuff, so you tend to have a lot of scrapbook stuff, and you spend a lot of time organizing/looking... but I digress.)
 The ready-to-decorate style are fun, like the large Making Memories tabbed album pictured here. I used SEI's "Bridgeport" collection for this album. I still love this collection, after many years, and snatched up a bunch more of it when SEI had a really awesome internet clearance, something like 75% off! Some of the paper is embossed, some is metallic, all of it is thick and delicious. I love paper. This album was easy and quick to create, I really just randomly added embellishments, made some tags and inked the edges. I didn't have to over think it.
I usually like to create the cover first to inspire the rest of the album. I like being able to get chunky with mini albums in a way you can't with traditional scrapbook pages. Lots of layering with foam tape. And the themed cover creates a focus for the rest of the album. Minis allow you to create beyond the page, things can stick up and stick out.
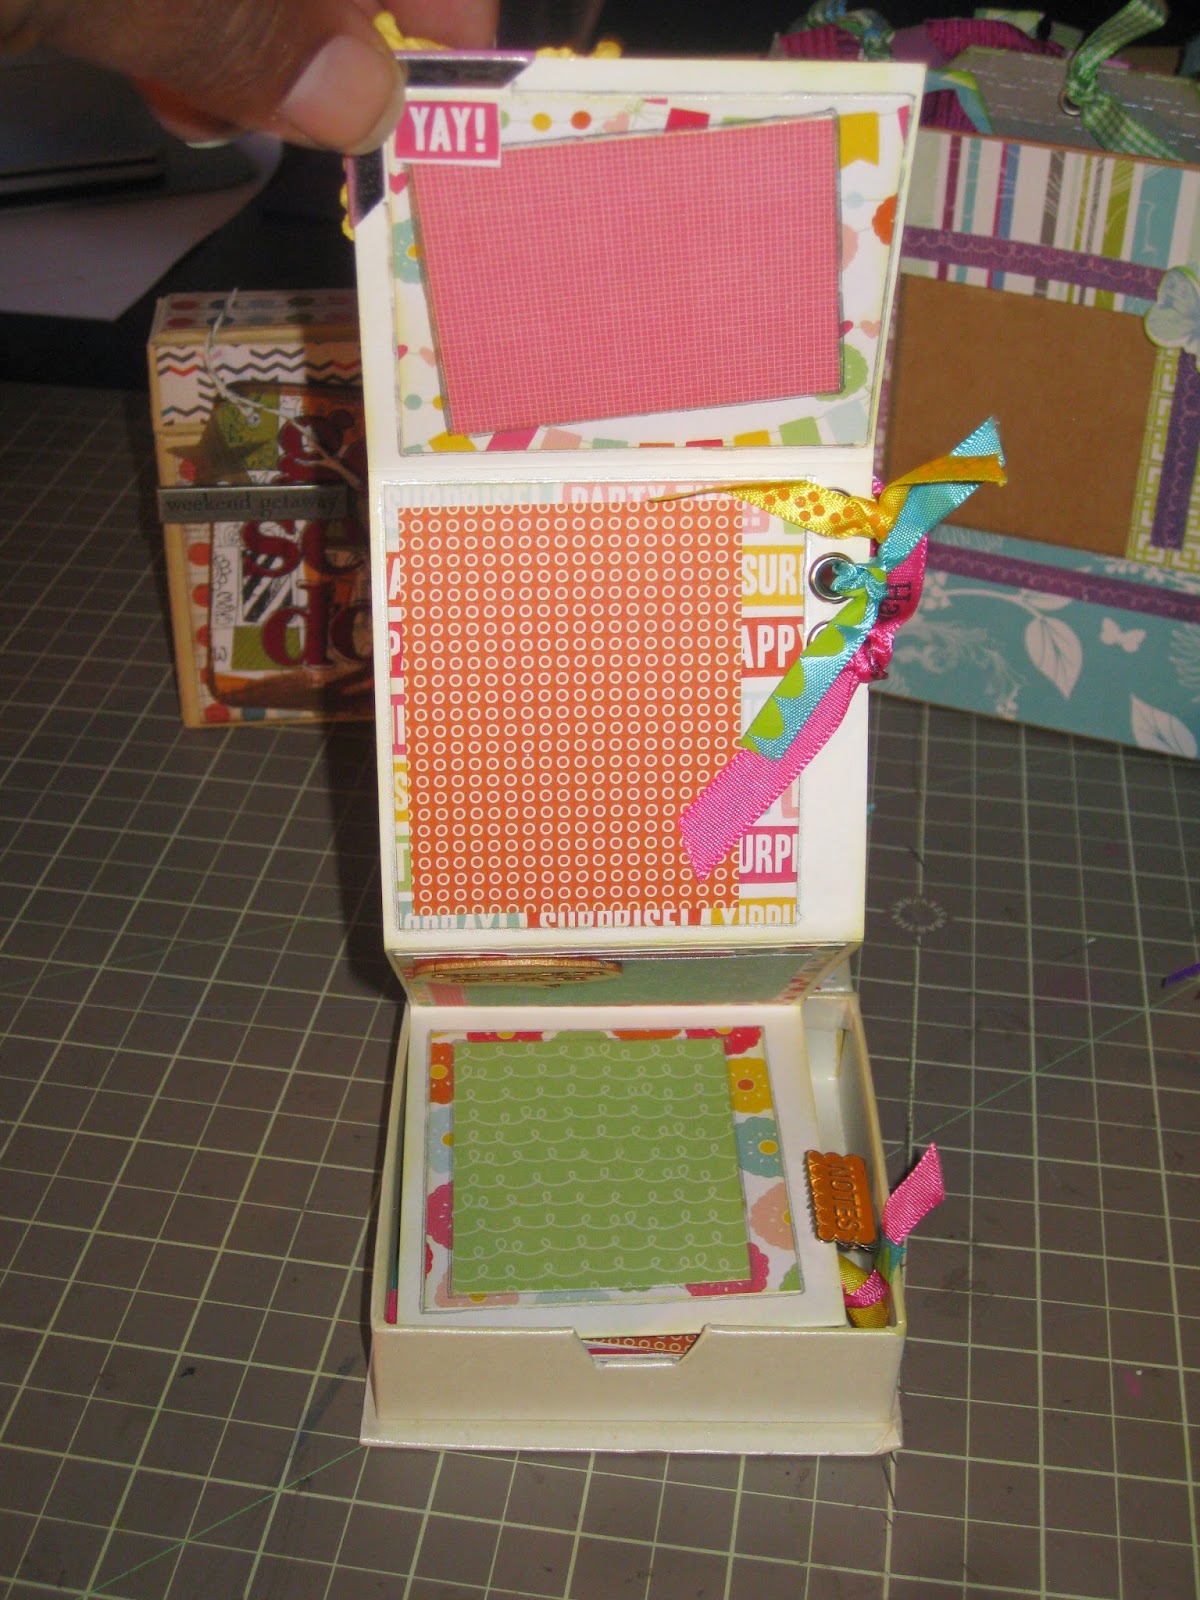
 For this album I used a little keepsake box. Cute right? The cover says "happy birthday," and the colors are bright and fun. The pages on the inside are actually one page that has been scored and folded for an accordion effect. For this album, I used a 6x6 paper pad from American Crafts that was birthday themed. I purchased it at Tuesday Morning for a whopping $2, but it didn't have coordinating embellishments. Not a problem, with the fun colorful paper, just about anything I had worked with it. Random eyelets and ribbon, butterflies, misc. titles and tags. It all worked! This album, like all the others, makes a great little homemade gift for the person who has everything.

Paper bags are one of my favorite mediums for mini albums. Use the classic kraft color, or hit up the local craft store for the colored ones in the party section. There are tons of paper bag tutorials on the web, but basically: get 5 paper bags, fold them in half, punch holes with the Crop-A-Dile and decorate! I usually fill the pockets of that are created
 when folding the bags with tags that coordinate with the paper. If you want the covers to have more structure, cut a piece of chipboard from your stock about 1/2 larger than the paper bags. Punch holes with the Crop-A-Dile. Use binder rings or ribbon in the punched holes. I used BasicGrey's "Hipster" collection for this paper bag album, and thought the kraft color was perfect for the collection. For the pocket pages, I used a small circle punch as a cut out for the tags.

So if you're feeling like you want to create something, but also feel stuck in a rut, try a mini-album! At the next convention, take a mini-album class. Even though I've taught tons of classes, I always learn something new when I take a class. Some of my favorite classes at the CKC are given by The Button Farm or Embellish It! The instructors are great and the projects are always awesome.
I've got a good size pile of mini albums right now, but they are great to have around for last-minute gifts. And when my pile gets too big, I will rent a table at a craft show, sell some off and start again!


